Creating a .NET Control for WINCC
1. Introduction
1.1 The .NET Control to be Created
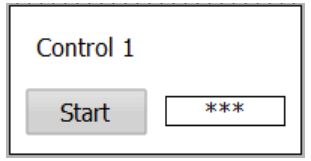
As shown in the figure, the control consists of the following components:
- A title
- A button
- An I/O field

1.2 Functionality Overview
Once completed, the control will achieve the following functionalities:
- The "Start" button can execute any system function selected from "WinCC Professional."
- The I/O field can be assigned any variable from "WinCC Professional."
2. Getting Started
Open Visual Studio 2015 and create a new project.

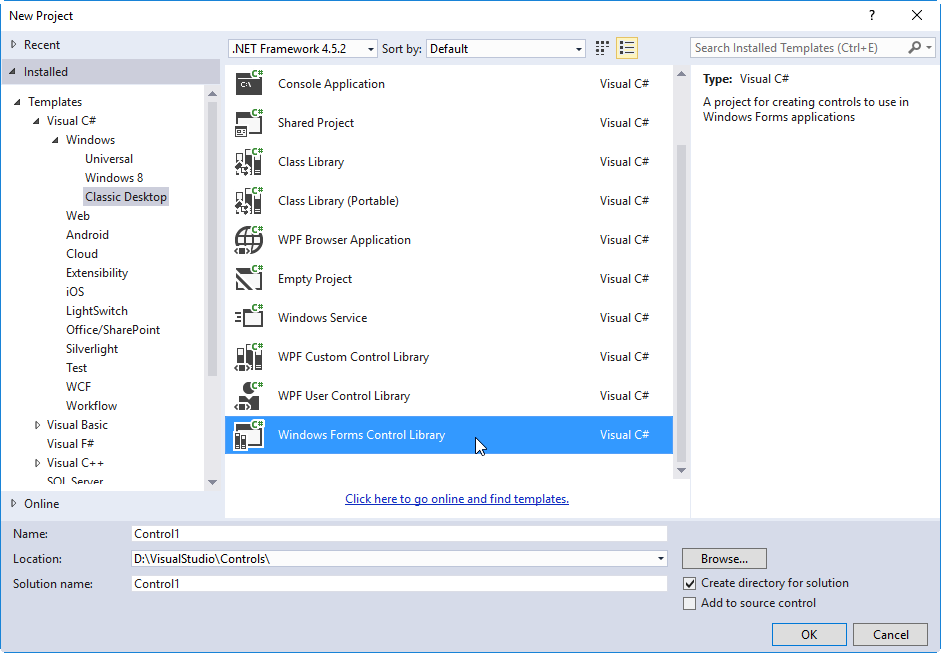
Select "Windows Forms Control Library" from "Installed - Templates - Visual C# - Windows - Classic Desktop" and click OK.
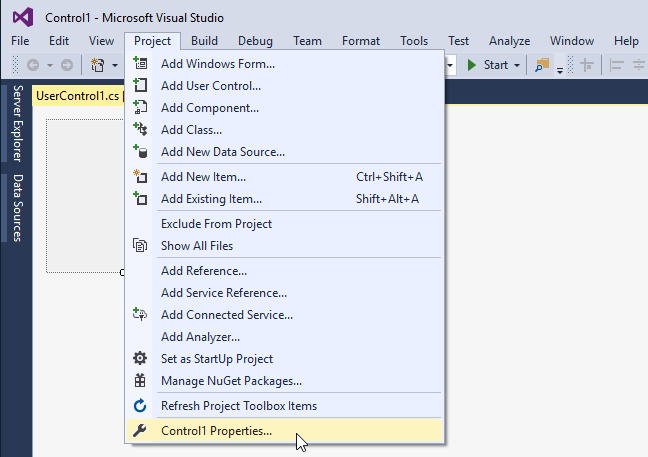
Open the project properties and in the Build tab, select "Any CPU" for the target platform.

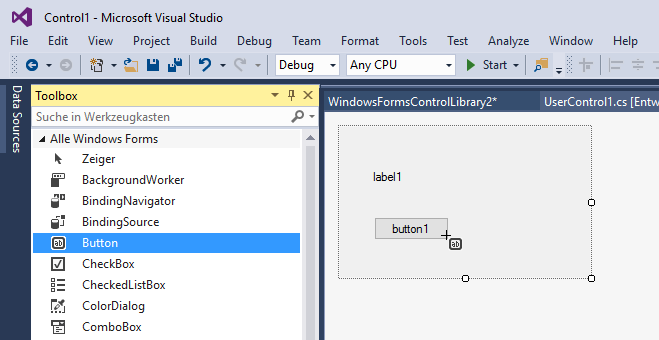
Open the control view and add three controls.

- Name the Label control as titleLabel1
- Name the Button control as buttonEvent1
- Name the Textbox control as ioFieldValue1
Open the code view and add the following code.
namespace Control1
{
    public partial class ButtonAndViewer: UserControl
    {
        Int16 iValue1 = 0; // Internal property to store the value of the IO domain

        [Description("Event triggered when the Start button is clicked")]
        public event EventHandler Event1;

        [Description("Property to set the IO domain value"), Category("Data")]
        public Int16 Value1
        {
            get
            {
                return iValue1;
            }
            set
            {
                iValue1 = value;
                // Display the modified property value in the IO domain control
                ioFieldValue1.Text = iValue1.ToString();
            }
        }

        // Other code remains unchanged

        private void button1_Click(object sender, EventArgs e)
        {
            // When the Start button is clicked, trigger the previously declared event
            Event1?.Invoke(this, e);
        }
    }
}
Click to build the solution, resulting in a DLL file.
In WINCC, add the .NET control by specifying the recently generated DLL file, resulting in the Control1.ButtonAndViewer control, which can be dragged and dropped onto the screen.
Through Data, Value1 can be bound to any variable.
The Event1 event can be bound through the event list, triggered when the Start button is clicked.
Thus, a simple WINCC .NET control has been developed.
